
Japan 2016 Makeup Look

It's been a while! I understand that I have been MIA for some time. Lately a lot of things went on with me, and I had to focus on them first. But this is something I've always wanted to show to you guys: my Japan 2016 makeup look!
A Little Intro
The Igari makeup inspired my look for this trip. Japanese stylist Igari Shinobu created this blush-centric look and it grew popular in Japan. Instead of placing it on the cheeks, however, the blush is under the eyes. It leaves a hungover / sickly touch, thus having others call it "hungover" makeup. Simply put, my friend called it "drunk blush". Since I tried this look, I found it looks super good on me. It's become my "usual look" since then!
Take note that there are a lot of non-Japanese products here as well. I used a lot of the products here for quite a while. I believe you don't have to use a country's products if you want to go for their beauty standard. But it does help to achieve the "feel" of the makeup look. Hence, that's why I did a beauty haul back there. (Apart from the price difference from PH, of course.)
So I'm doing this tutorial step by step. I broke down the images into steps and identified each product per step.
Japan 2016 Makeup Look Procedure
Step 1: Prep & Prime
Before anything else, prepare your skin! Do this for 2 reasons: 1) makeup sticks better and 2) for skin care! Makeup might enter your pores when your skin is bare and it is NAGL. For me, I do this order: moisturize (1), prime (2), set (3). Strictly in that order, because my BB cream darkens when I set first or I forget to prime.
Products:
- Celeteque Hydration Facial Moisturizer
- Max Factor Smooth Miracle Primer
- Eau Thermale Avene Thermal Spring Water

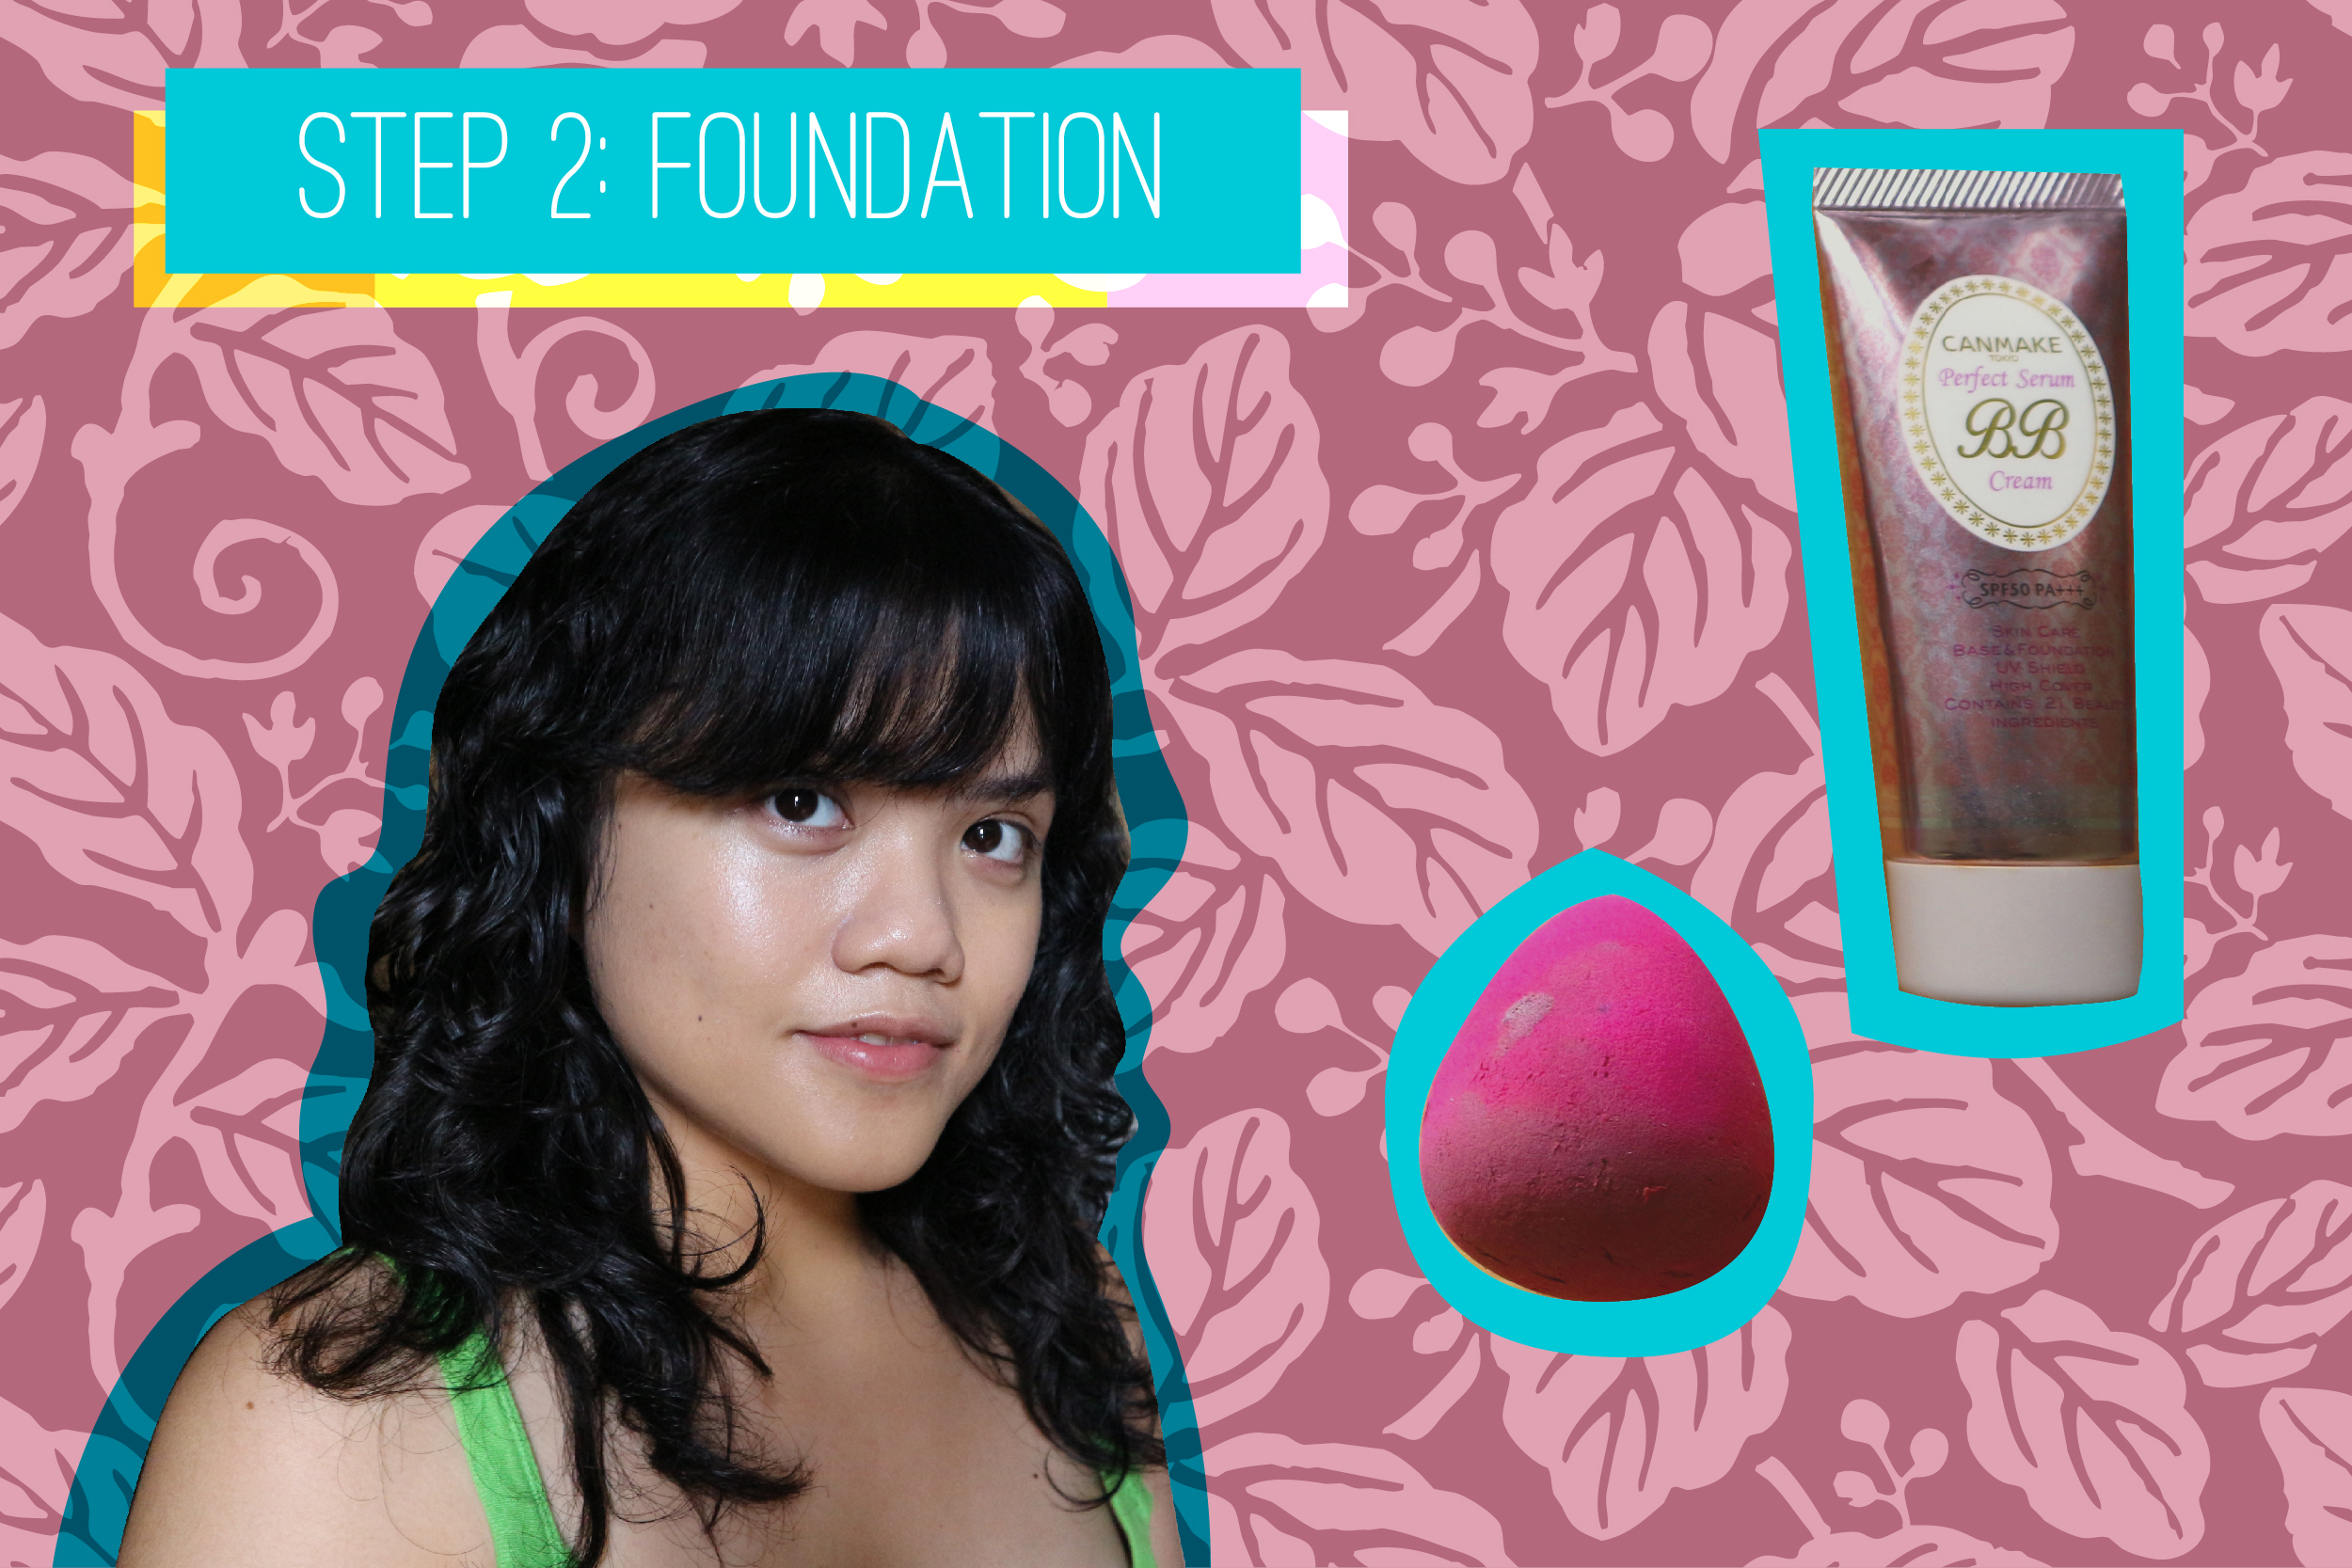
Step 2: Foundation
Now that your canvas is ready, time to start with the base! Squeeze some foundation / BB cream on your hand. Dab your moist beauty blender on it and gently pat on your face. Remember to blend for an even finish!
Product: Canmake Perfect Serum BB Cream 02
Tools: BYS Beauty Blender
Step 3: Conceal
Conceal, don't feel, don't let them know (you got spots). But before hiding them, correct them first. Use a reddish corrector for your eyes and a green one for blemishes. In my case though, I use only one type of corrector. To blend, lightly pat the formula with your fingers.
Products:
- Happy Skin Eye Need A Miracle Corrector
- The Face Shop Easy Cover Stick Concealer N203


Step 4: Contour
Okay, there's debate on this. Before, contour was a Western thing. But a lot of Asians are contouring themselves lately, and I like how it looks on me. Here's how you can contour like I do. Line your nose sides and your cheekbones. That's it! I don't really highlight or strobe with this look, because the Japanese like it matte. Remember to blend it too, using your fingers. Even better if you use a contour brush.
Product: BYS Contour Stick Bronze
Tool: BYS Oval Contour Brush
Step 5: Finish Powder
Once you're done with contouring, it's time to add the finishing touches! Set your face with a finish powder. I use this instead of foundation powder to save time. Also, use a kabuki brush to even the powder out! Use the sponge for retouches instead.
Product: Canmake Marshmallow Finish Powder, MB
Tool: Kabuki brush (unidentified brand)


Step 6: Blush
The most vital part of the look: the blush.
Apply some lip / cheek tint on the area beneath your eyes. Spread it to the sides of your eye with a blush brush.
I use a liquid tint instead because it sticks more on my skin than cream or powder. For cream blushes, I have yet to find one that actually sticks on my skin. Powder blushes need retouching under this climate plus my oily skin.
Product: TonyMoly Delight Tony Tint 01
Tool: Forever 21 Blush Brush
Step 7: Nose Powder
"But you already had the contour!"
Honestly, I prefer to contour my nose only. I don't have this product when I traveled, but the nose contour is the most important part of my routine. (You can skip this if you're satisfied with the previous contour in Step 4.)
Start off with the highlight in the middle and then with the contour on the sides. This is the only time I use highlights 'coz they give off a more defined point that flatters my nose.
Product: Canmake Nose Shadow Powder


Step 8: Eyebrow
A tutorial for an Asian-inspired makeup look always mentions how brows are straight. But my suggestion is to go with your natural shape instead. I can't do a straight brow because I have low arches, so I go with those instead. Always use what you have instead of forcing what you don't have!
First, outline the brow shape. Then diffuse the pomade with a lash-like brush for a natural fleek.
Product: Anastasia Beverly Hills Dipbrow Pomade, Dark Brown
Tool: Marionnaud Nº9 Slanted Brush
Step 9: Eyeshadow
I prefer a neutral, pinkish eyeshadow look that goes well with my cool olive undertone! Also, if you noticed I do my shadow with my eyes open. That's because my lids are heavily hooded. I suggest you do this too if you got similar eyelids as mine!
Here are my specific steps to achieve the shimmery natural look:
- Set the shadow base with the lightest tone using a crease brush. (Palette Shade used: Silk Teddy (1).)
- With a detail brush, define the lid flap with a slightly darker shade. (Palette Shade used: Push-Up (2).) Also, you can add more depth by adding another dark shade (Palette Shade used: Cashmere Bunny (3)) but that's optional.
- Blend the layers of shadow with a blending brush.
Product: Too Faced Natural Eyes Eyeshadow Palette
Tools:
- Forever 21 Eyeshadow Crease Brush
- Forever 21 Eyeshadow Detail Brush
- Lancôme Eyeshadow Blending Brush


Step 10: Eyeliner
Before doing the basic liner, tightline first. It leaves the illusion of having bigger eyes and closes any gap in between the eyelid edge and the basic liner. But if you want to try it for the first time, I suggest using pencil or gel liner because doing it with a liquid liner isn't always that safe. Then apply your basic liner as you always do.
Products:
- Banila Co. Cushion Gel Liner, Brown
- Majorca Majolica Linehunter Liquid Eyeliner, BK999
Tool: Maybelline Eyeliner Brush (It came with my other gel liner)
Step 11: Curl Lashes
Lashes are all the rage in Japanese makeup! Curled lashes with mascara makes your eyes look bigger. Falsies are another option, but it takes practice to get those on properly! (Trust me, I know LOL.)
So press and lift your lashes with your curler. Do this for a few counts, three times in a row. For each set, raise your curler. Do it gently though, because those lids are delicate! (Try not to rip them off, okay?) And once you're done with the third set, quickly set them with the mascara. Wiggle from the roots up to the edge.
Product: Majorca Majolica Lash King Mascara, BK999
Tool: Shu Uemura x Takashi Murakami Eyelash Curler


Step 12: Lipstick
Choose a shade with a pinkish tone. Most would go for a light pink shade, but I prefer a darker pink since I'm pretty pale. And that is why I chose this reddish lipstick.
Product: Banila Co. Lip Crayon Shine Sheer Kiss
Step 13: Set & Spray
You're good to go! All you need to do is make sure it sticks. Get your setting spray from the beginning and spray it again on your beautiful face.
Product: Eau Thermale Avene Thermal Spring Water


Fin
And you're done! よく できました! (Well done!)
So that's my makeup look for my latest Japan trip. I'm doing more of these when I travel. Hopefully, I can include my next destination's popular looks. I'm excited to do more of these!